Welcome to the Course Builder
The Course Builder is an intuitive tool designed to help you create attractive and useful online courses and webinars for your students from start to finish. Follow the steps below to build your first course.
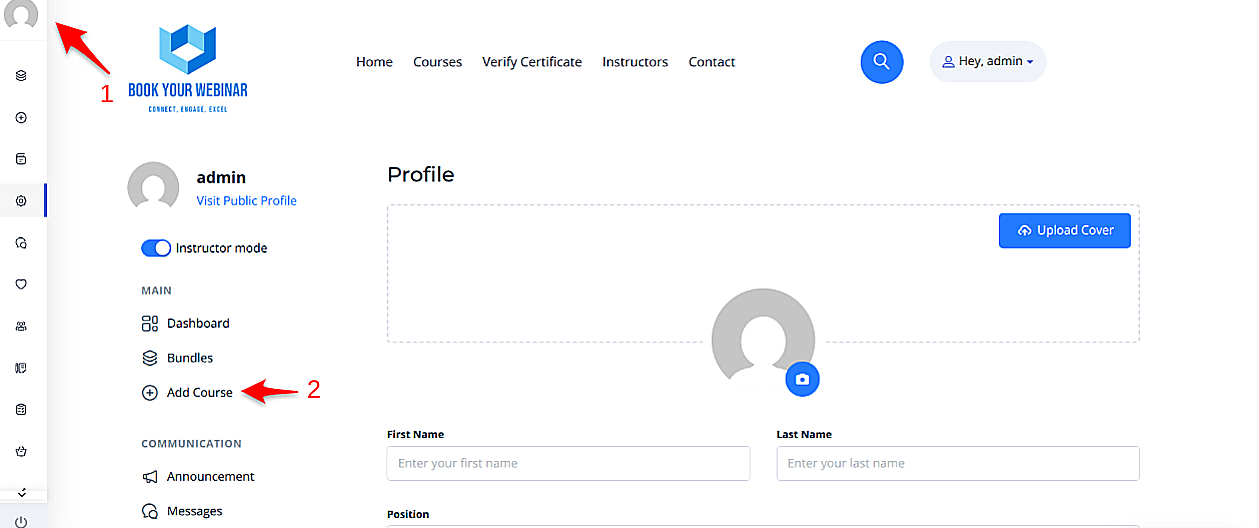
1. Starting Your Course
To begin, simply navigate to your personal profile page on the platform and click the Add New Course button. This will open up the main builder environment where you can manage all your content.
2. Course Information
Once inside the builder, you will need to provide essential details. This information gives potential students a clear understanding of your content and helps them make an informed decision to enroll.
- Title & URL: Give your course a clear, engaging name.
- Category & Level: Categorize your course appropriately and assign a difficulty level (e.g., Beginner, Intermediate).
- Cover Image: Upload a high-quality cover photo to make your course visually appealing in the directory.
After filling out the main information, click the Create button to unlock the curriculum and settings tabs.

3. Building the Curriculum
A successful course is divided into logical sections. This structures the content clearly, making it easier for learners to navigate and understand the flow of the topics.
- Add Sections: Group your content into broad modules or weeks.
- Add Lessons & Assessments: Under each section, add specific video lessons, text documents, interactive polls, or quizzes.
- Search Materials: Use the "Search materials" button to quickly locate and incorporate previously created lessons or quizzes without having to rebuild them from scratch.

4. Course Settings & Access Control
Navigate to the Settings tab to manage how and when students interact with your content.
- Access Time Limit: Set an expiration date (e.g., course expires 30 days after enrollment). Students will be notified as the expiration date approaches.
- Prerequisites: Require students to complete another one of your courses before they are allowed to enroll in this one.
- Course Files: Attach downloadable materials (PDFs, Worksheets, Slide decks) that students can access alongside the course video.

5. Certificates & Page Style
Reward your students and customize the look of your landing page.
- Certificates: Choose from a selection of pre-made certificates. When a student completes 100% of the curriculum, they will automatically be issued this certificate.
- Course Page Style: Override the platform's default layout for this specific course. Choose between Classic, Modern, Minimalistic, or Bold layouts to best suit your content.

6. Pricing Your Course
The Pricing section lets you define how learners will access your content. You can set your course to be completely free to build an audience, or charge a fee to monetize your expertise.
- Free: Anyone registered on the platform can enroll instantly.
- One-Time Purchase: Charge a flat fee for lifetime (or time-limited) access. You can also configure a temporary Sale Price with start and end dates.
- Subscriptions: Charge a recurring monthly or annual fee for access to the course.
- Group Pricing: Offer discounted bundle pricing for enterprise or group enrollments.

7. FAQs & Notices
Ensure your students have all the information they need.
- FAQs: Add a list of Frequently Asked Questions to the course landing page to preemptively address common doubts and reduce support queries.
- Notices: Use the Announcements feature to communicate important course-related updates, schedule changes, or welcome messages to enrolled students.
